Let the professionals do the hard work!
Our Process
We have the equipment and the experience!
Typical installation time is approximately 1-2 days, but in most cases we can complete the job in the SAME DAY!
A common problem with Epoxy and Polyurea applications is that they can bubble, peel, or chip over time.
How do we make sure our products last for decades after we apply it to your to your surface?
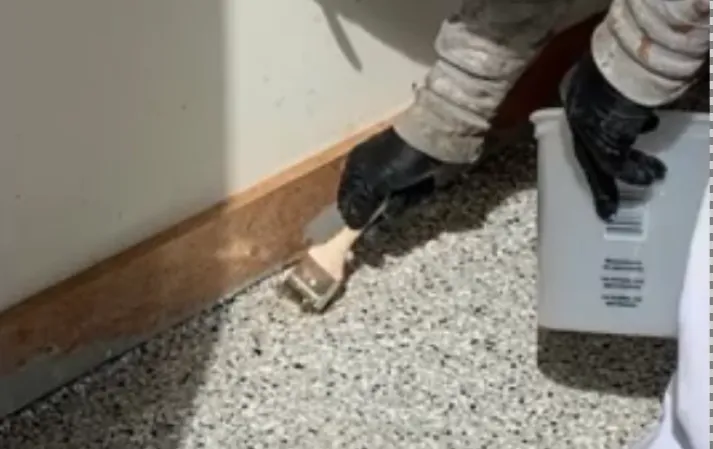
The first and most important step to any successful project is to prepare the surface for application!
Prep, Prep, Prep!
Prep is the key to success, and the main reason you may want to hire the professionals at Epoxy Flooring Done Right to make sure your floor is truly Done Right, and lasts for decades!
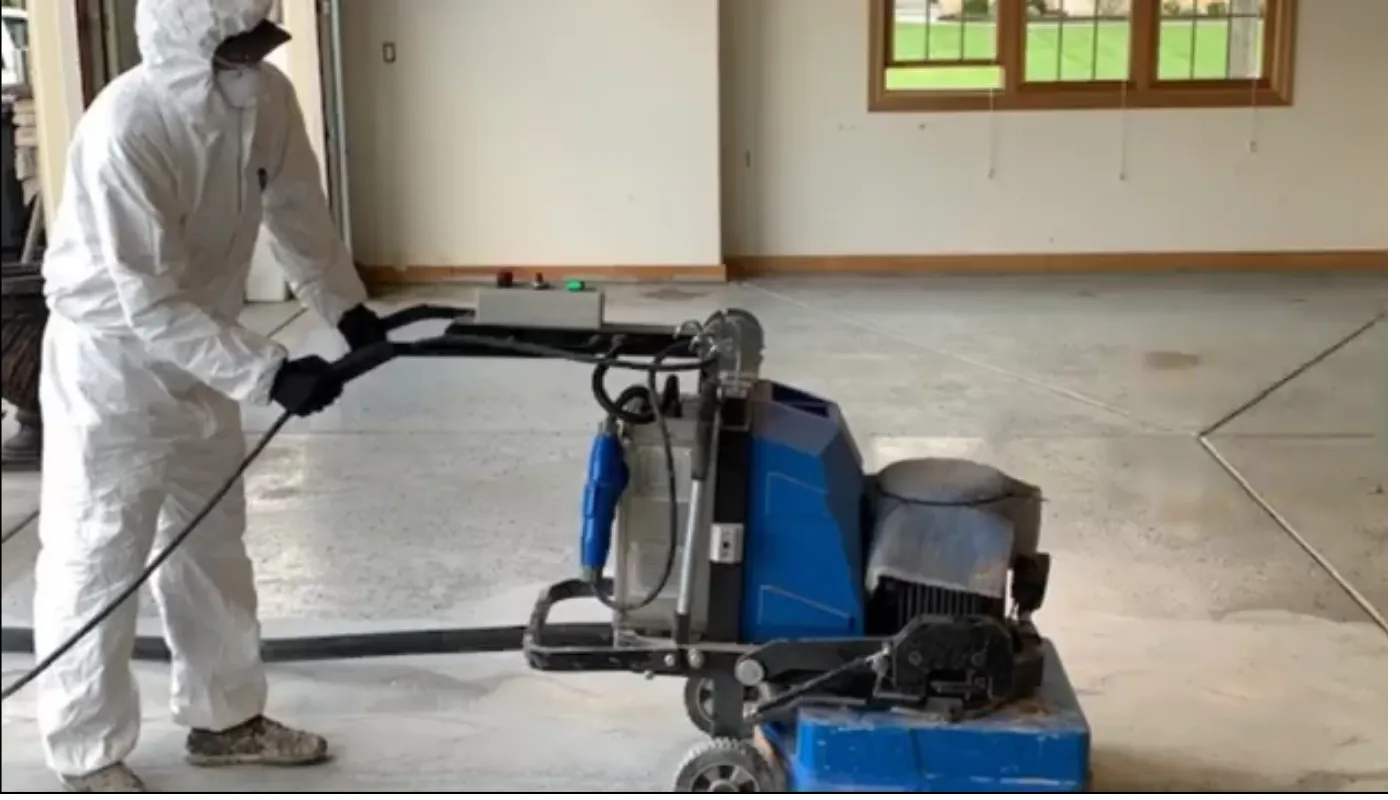
Prepping your concrete surface is a lot of work, and in most cases will require heavy equipment to prepare your surface for treatment. That's where we come in, we have the heavy equipment and know how to use it to make sure our product protects your concrete for decades!
Our Epoxy and Polyurea floors protect and change the entire aesthetics of your boring gray concrete surfaces!
We diamond grind your concrete to achieve a proper surface profile for maximum adhesion of the epoxy.
This process removes, oil, gas, paint, or whatever else your concrete surface may have been exposed to over the years.
There are a multiple different ways to apply Epoxy and Polyurea, but the most important part of any job is to make sure the surface is ready an application.
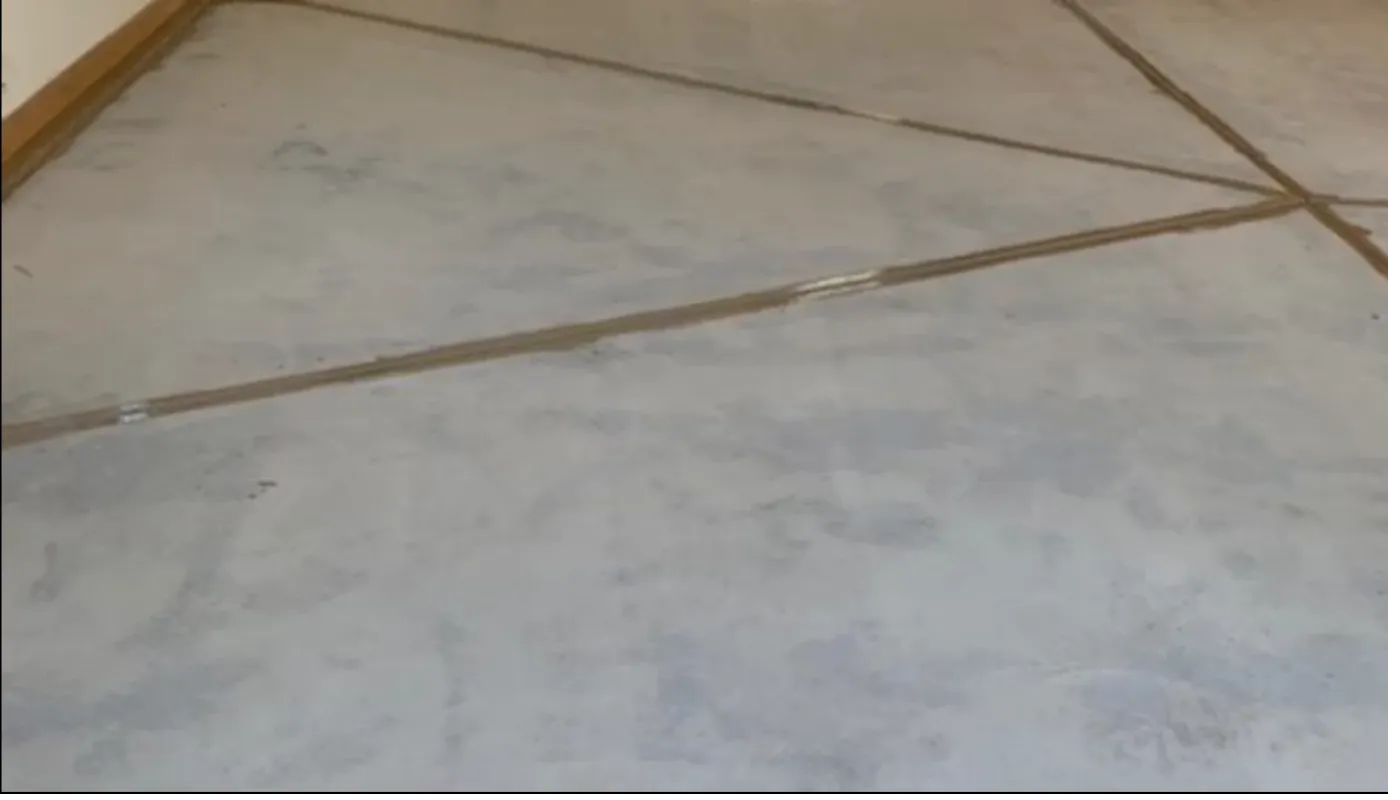
If necessary, we fix any cracks or pitting that may exist using our polymer modified concrete or epoxy patch.
Concrete tends to crack due to weather change and various other environmental factors. As a result our diamond grinding alone may not be enough, so we make sure to fill in the cracks and pitted areas for maximum adhesion!
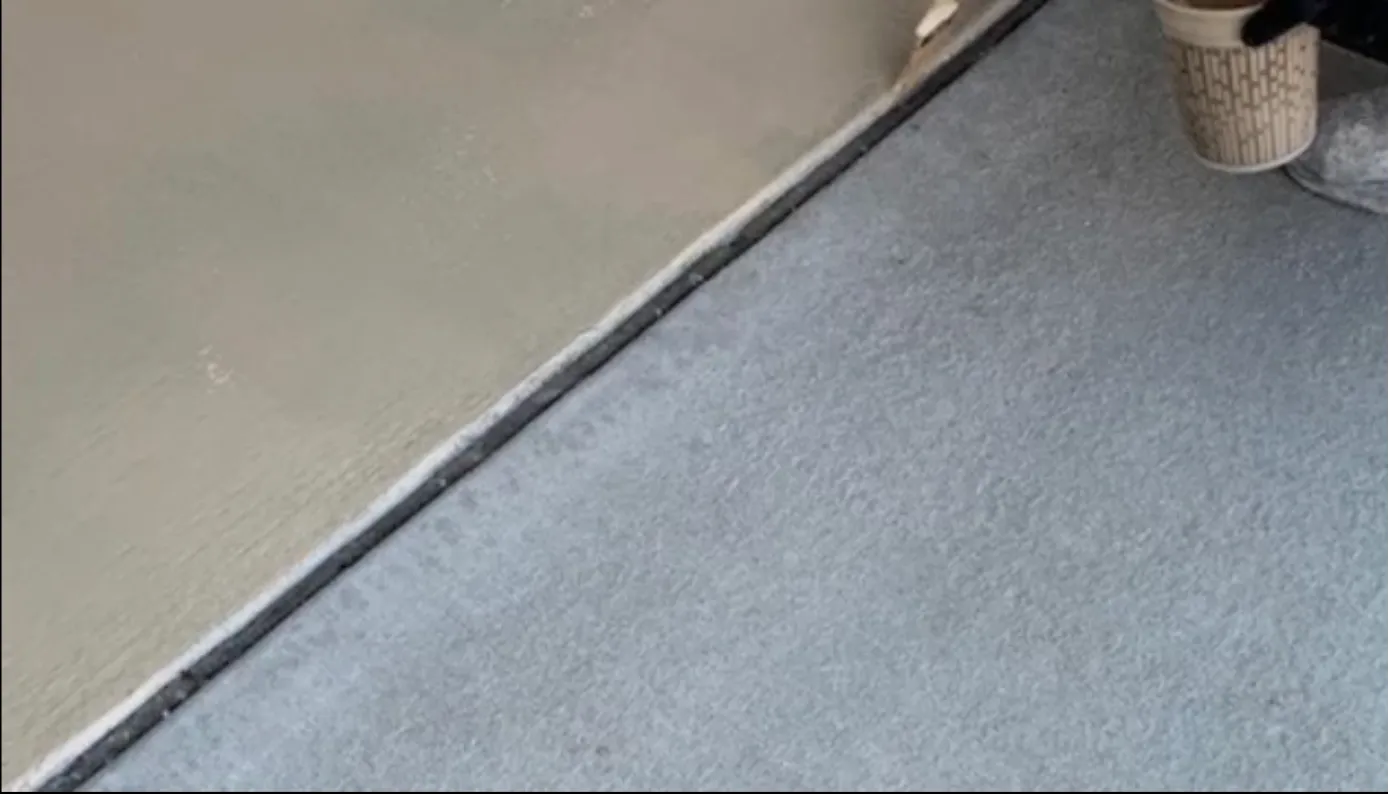
If you chose a decorative flake We apply a base-coat of a 100% solids commercial grade epoxy primer.
The base-coat is the first line defense when it comes to moisture from the top. It also contains the base of your chosen (optional) flake color to make sure no unsightly concrete peeks out from your finished surface!
We broadcast the decorative flake with your color of your choice.

Apply a final topcoat of Polyaspartic epoxy. (Aluminum Oxide can be broadcast at this point to create a non-slip, textured floor).